Interact Quiz Builder Tutorial – Step by Step
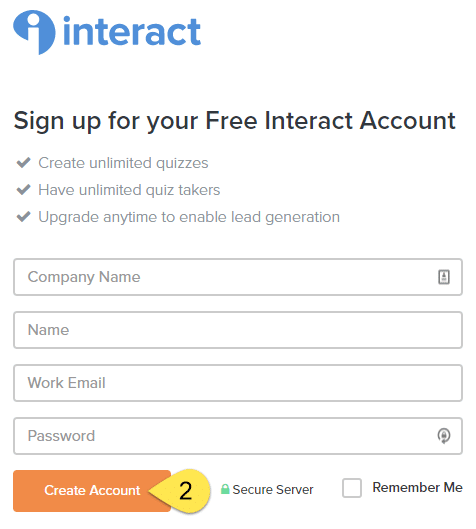
Step 1: First up we need to head over to Interact and click Get Started for Free.
Building the Quiz
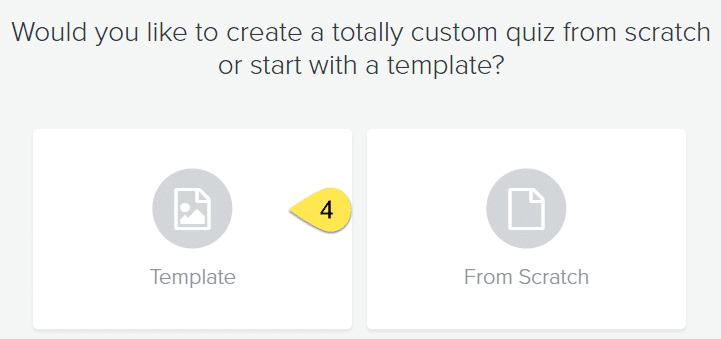
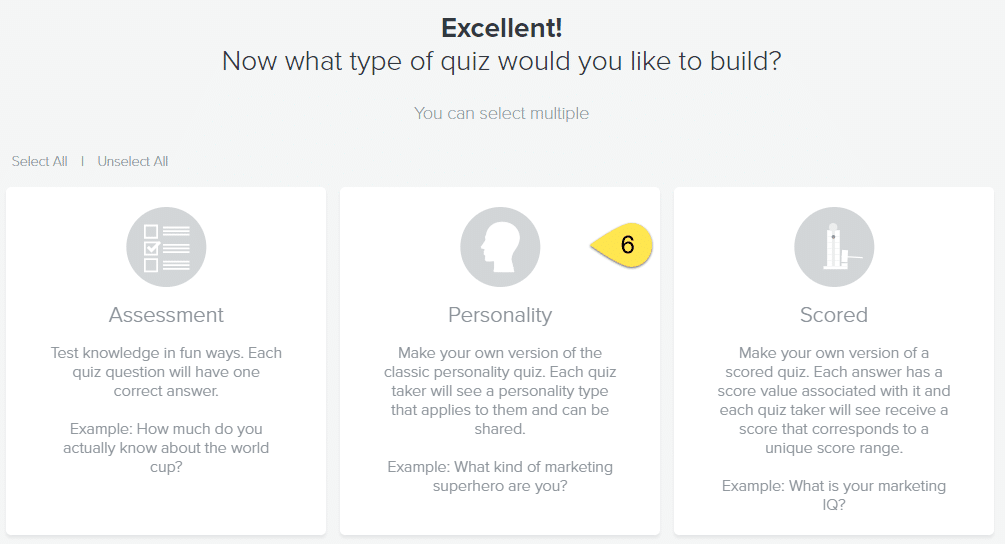
Step 9: Now that we have a template, it’s time to customize it to suit the type of quiz you want on your site. We can customize the Cover page and create the questions we want to see. For stock images, there’s a handy built in integration with Pixabay.
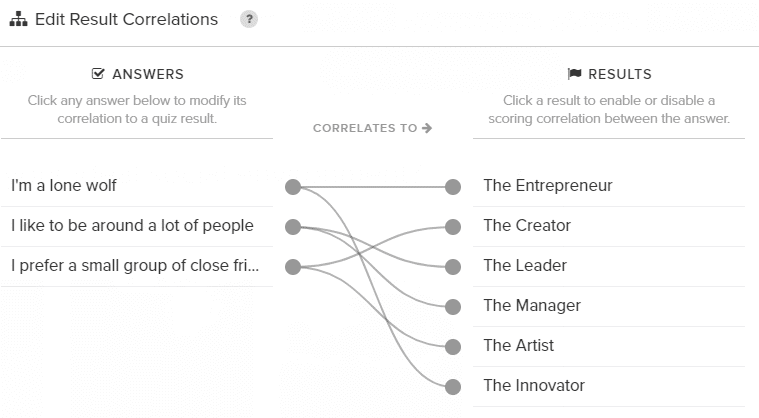
Step 10: Once your happy with the Cover & Questions, it’s time to move onto creating the Results pages as well as the correlation between questions and answers.
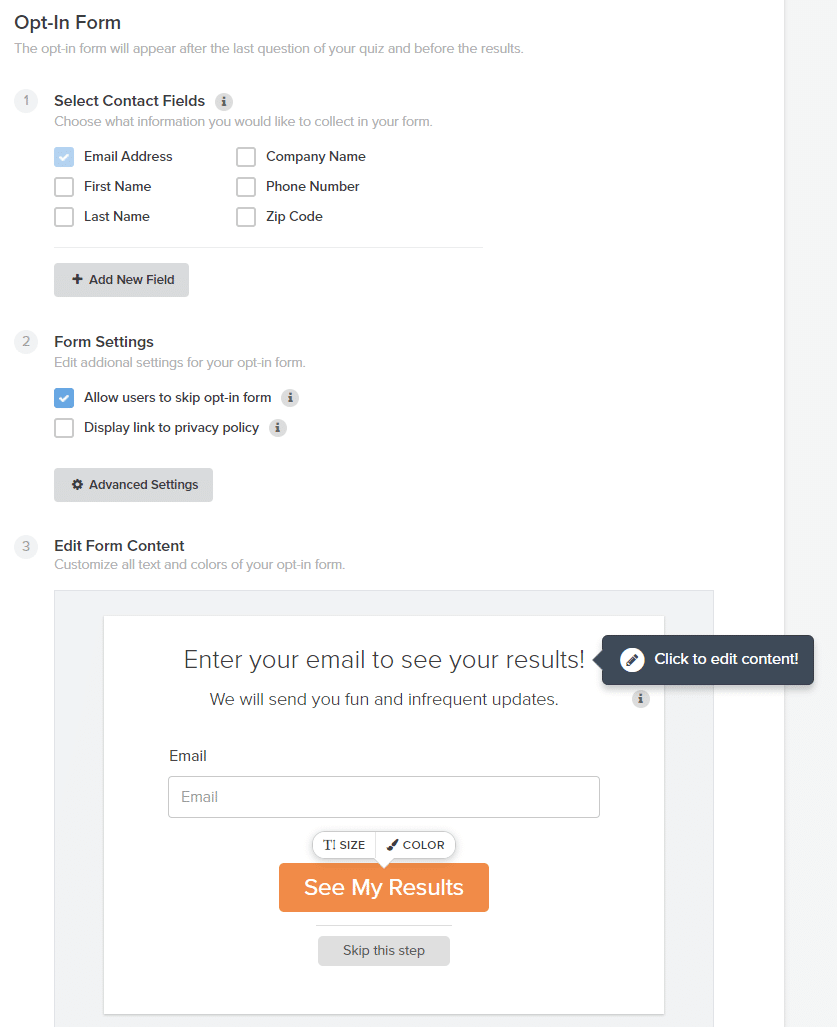
Step 11: You also have the option to add an opt-in form for lead capture. And the good news is it integrates with all the popular email marketing programs like MailChimp, ConvertKit & AWeber.
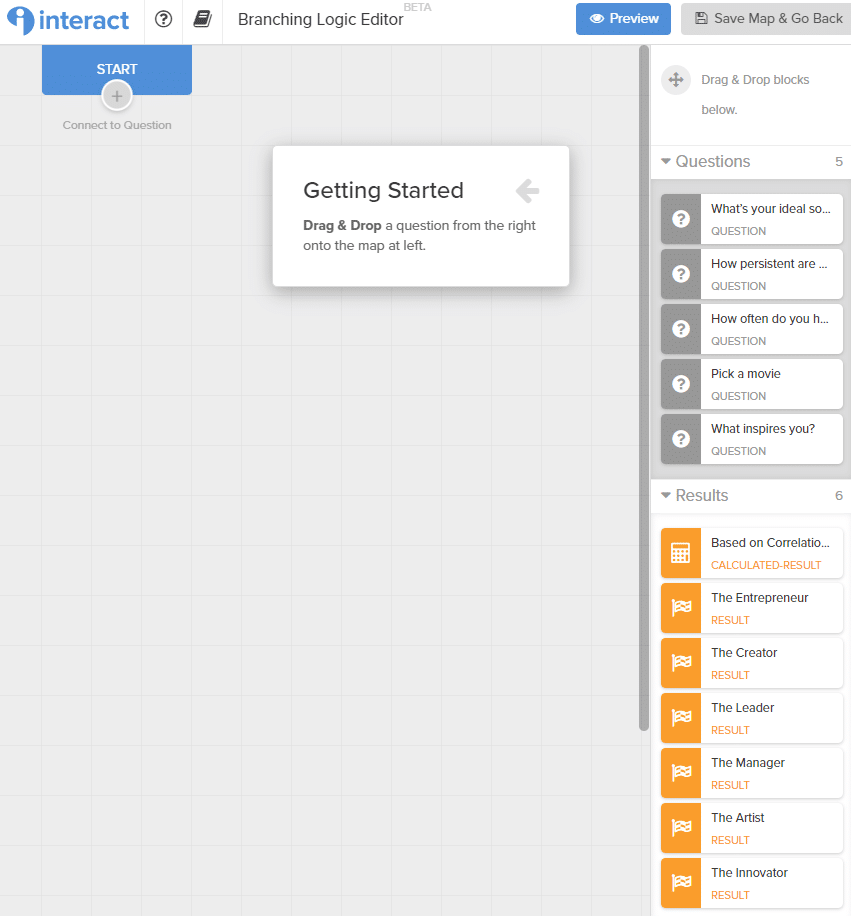
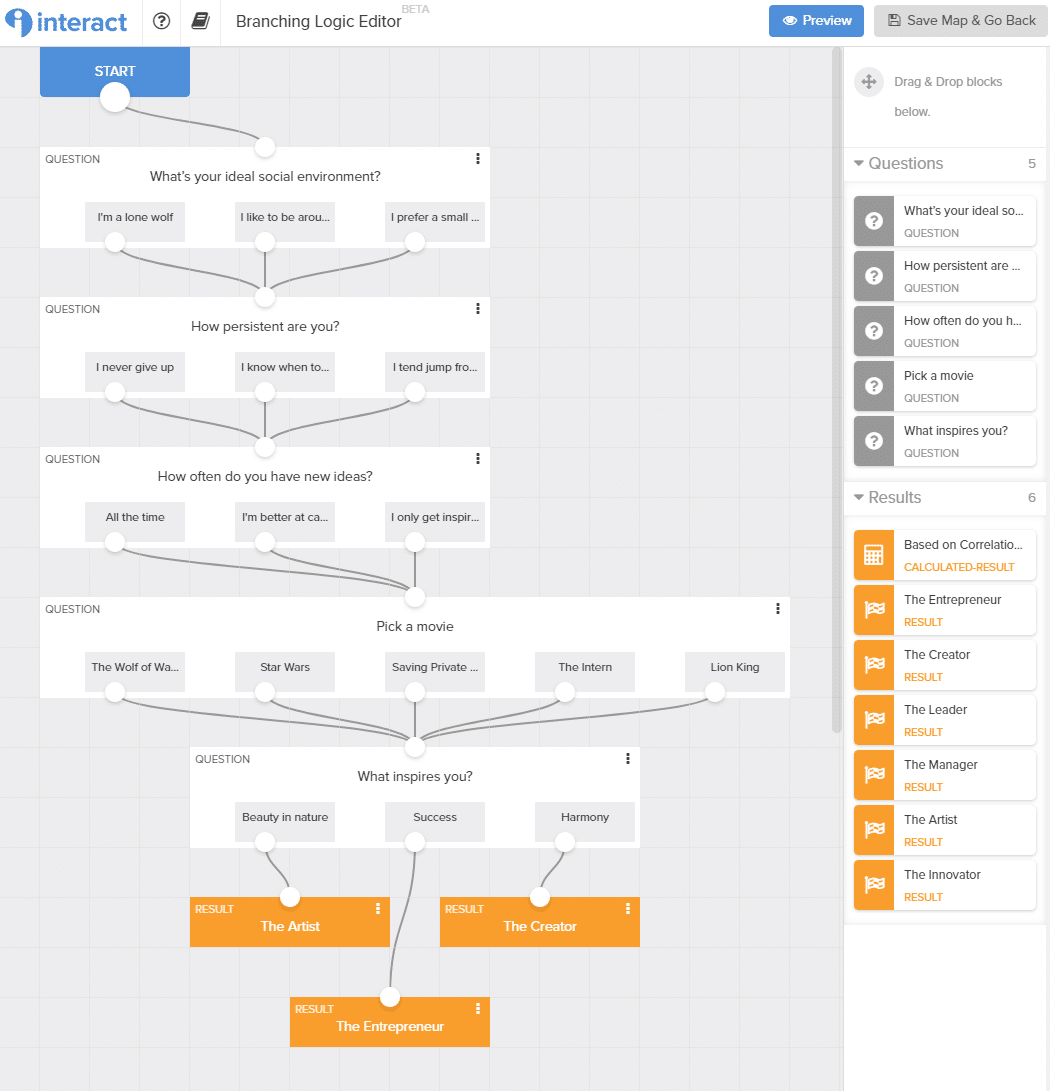
Step 12: The other feature that I personally think is the most impressive is the Branching Logic Editor. Here you can drag and drop unlimited combinations of questions and answers to ensure you have a truly personalized result. I ended up creating over 300 individual results using this Branching Logic capability.
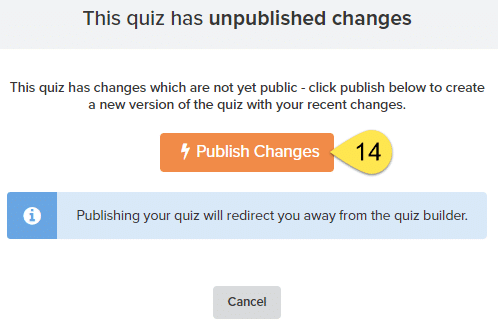
Steps 13 & 14: Once your happy with how your quiz is looking within Interact, the next step is to swing it onto your site. Click Share & Embed, then Publish Changes.
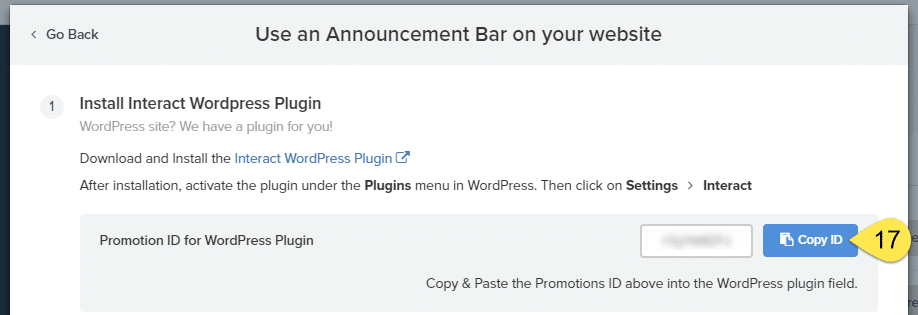
Steps 16 & 17: And because we’re all about WordPress, click WordPress Plugin. Then click Copy ID which we will drop into the plugin shortly.
WordPress Plugin
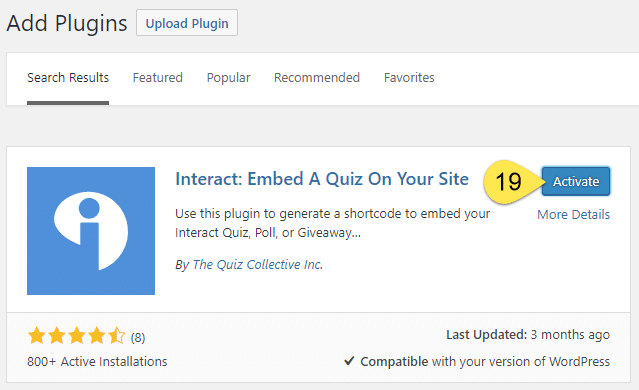
Steps 18 & 19: Now let’s quickly jump into WordPress and setup the Interact plugin. Go to Add Plugins, search for Interact and click Install Now. Then click Activate.
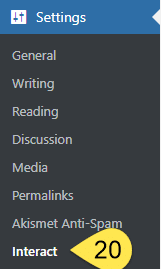
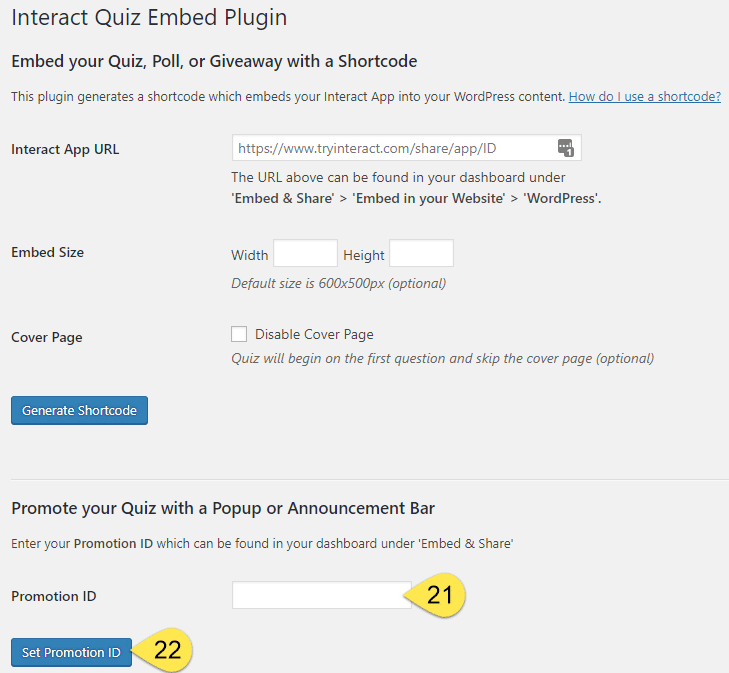
Steps 20 to 22: Now click through to the Interact Settings and paste in the Promotion ID from Step 17. Then click Set Promotion ID.
The Outcome
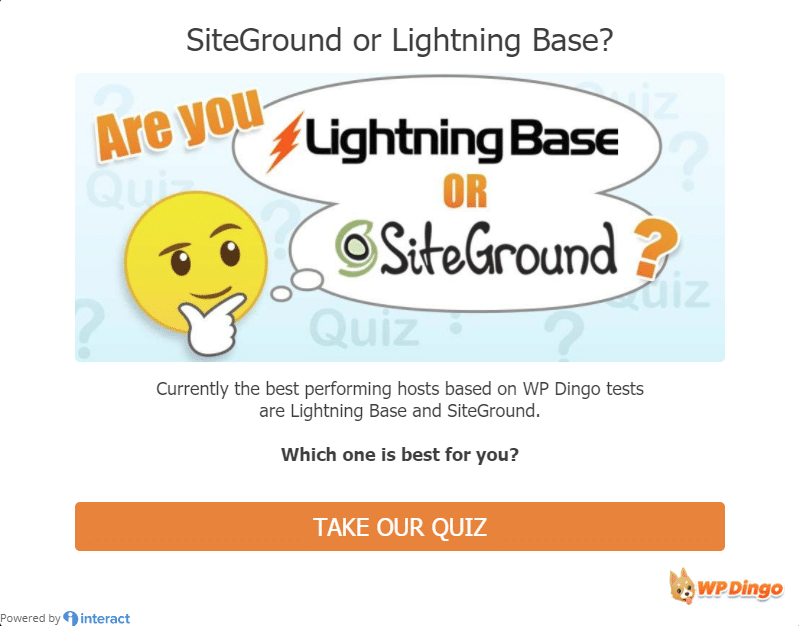
To see the final outcome, look to the top of the screen to kick off the quiz. I hope you find it helpful in deciding between Lightning Base & SiteGround.

















 Hi, I'm Clint!


