As part of the Speed Study on Kraken, the following steps were completed to setup the Kraken Image Optimizer plugin…

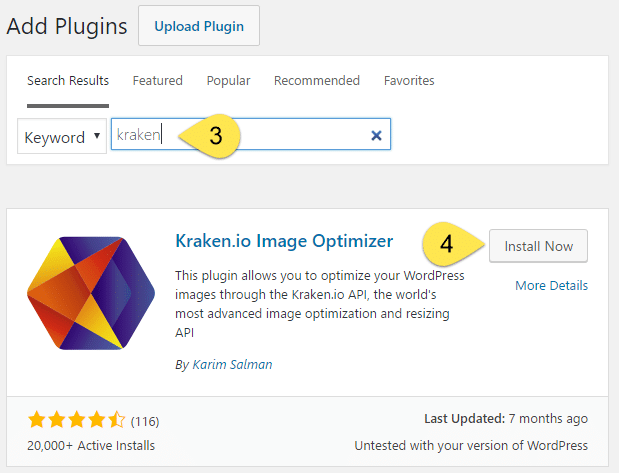
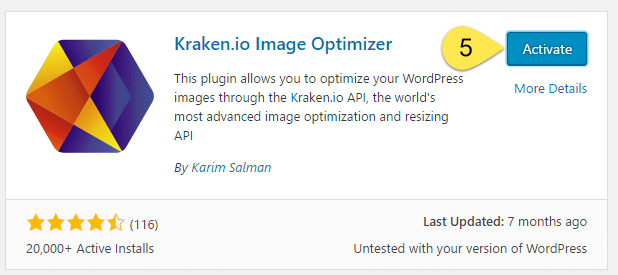
Kraken Tutorial – Step by Step
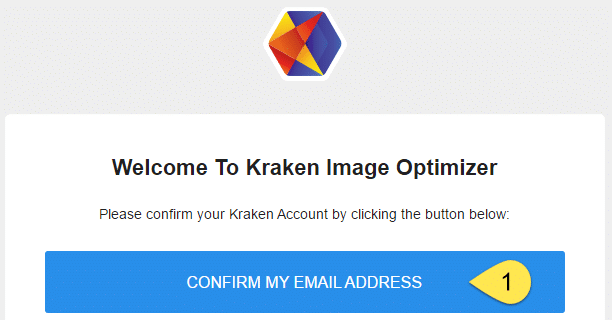
Step 1: Before we dive into our WordPress backend, we first need to setup an account on the Kraken website. So lets navigate to kraken.io and click on Get Start for Free. Enter your email address and a password, then click Sign Up. You will receive an email like the screenshot below, click Confirm my Email Address. You should then see a green bar indicating we’re all setup!
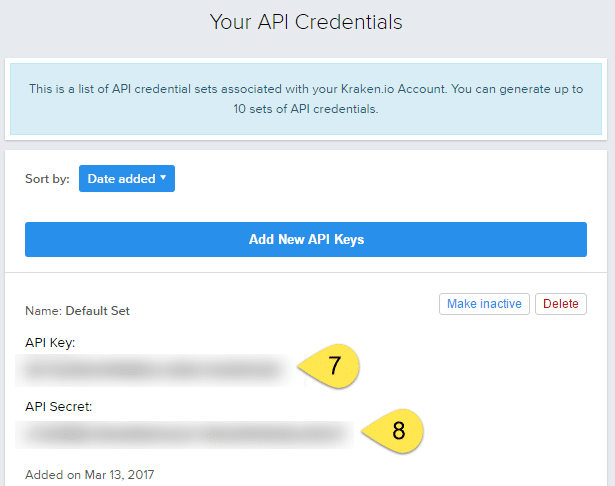
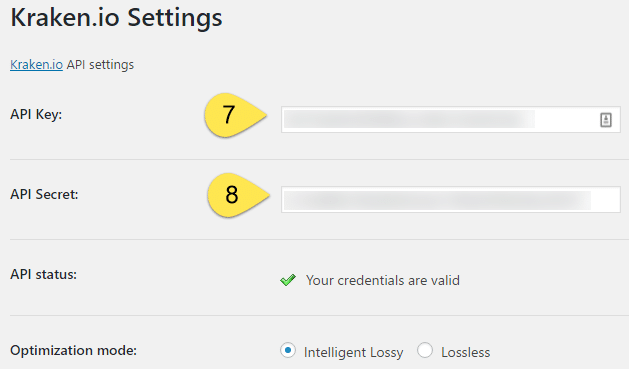
Steps 7 & 8: At the top of the settings page is where we enter the API Key & API Secret. Get both of these from your Kraken account, simply navigate to the API Dashboard page.
Please note that the rest of the settings have been kept at the default option. Then click Save All at the bottom of the page.
Source of Kraken API Details
Enter Kraken API Details in WordPress
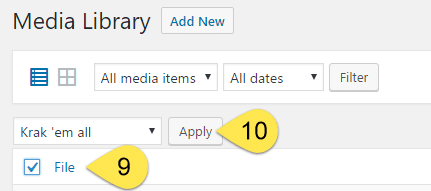
Step 9: Now with Kraken all setup, lets get into optimizing our images. Within WordPress, head over to the Media Library, and click the checkbox to select all images.
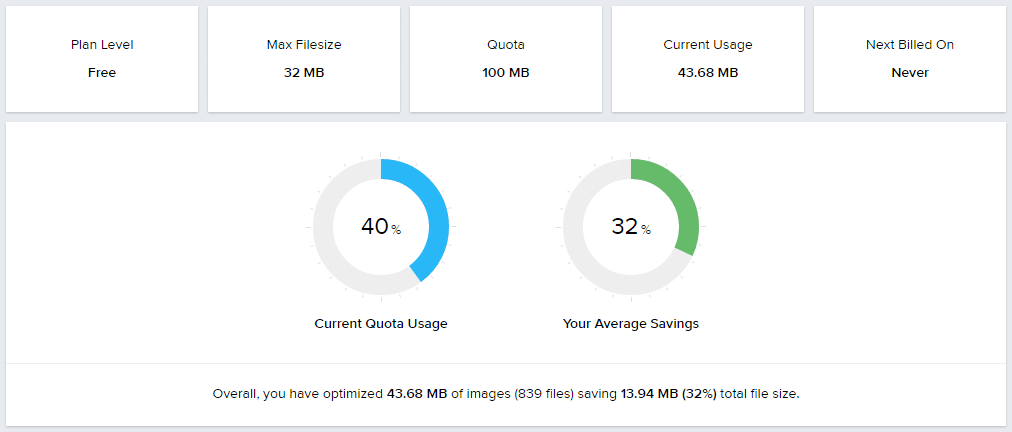
Note: The test sites that I am using are quite small and only have a few images. Please be aware that the Kraken account requires payment once you have used the initial free 100MB, so selectively choose the images that you want optimized on your site.
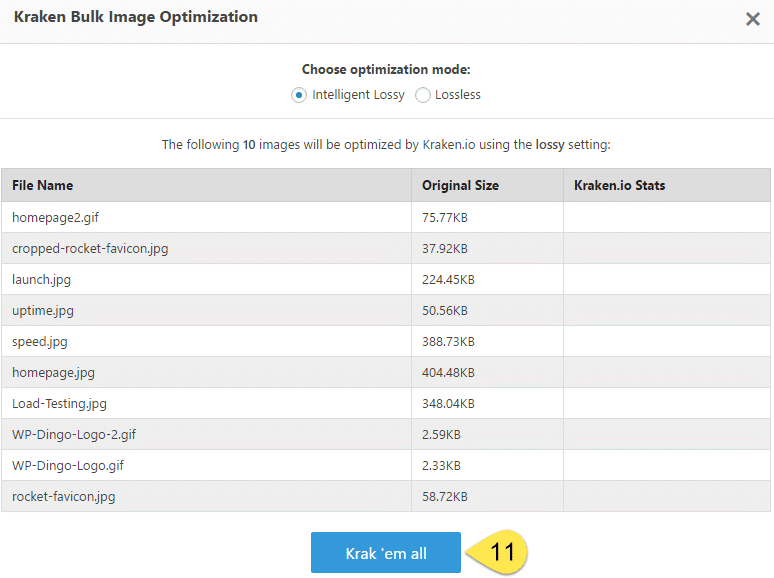
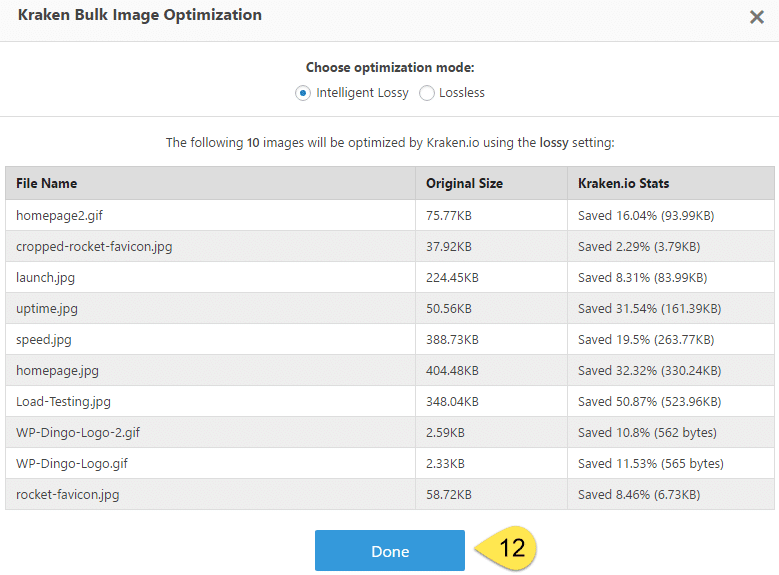
Step 10: Choose “Krak ’em all” from the dropdown, then click Apply
Questions?
If you have any questions about this Kraken Tutorial, please feel free to ask in the comments below and I will try my best to answer them 🙂








 Hi, I'm Clint!


