As part of the Speed Study on KeyCDN in 2016 and Speed Study on KeyCDN, Cloudflare & WP Rocket in 2017, the following steps were completed to setup KeyCDN with WP Rocket…


How to Setup KeyCDN – Step by Step
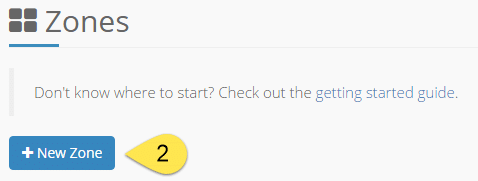
Step 1: First up, we need to get an account setup with KeyCDN. After signing up and activating through email, click through to Zones.
WP Rocket Settings
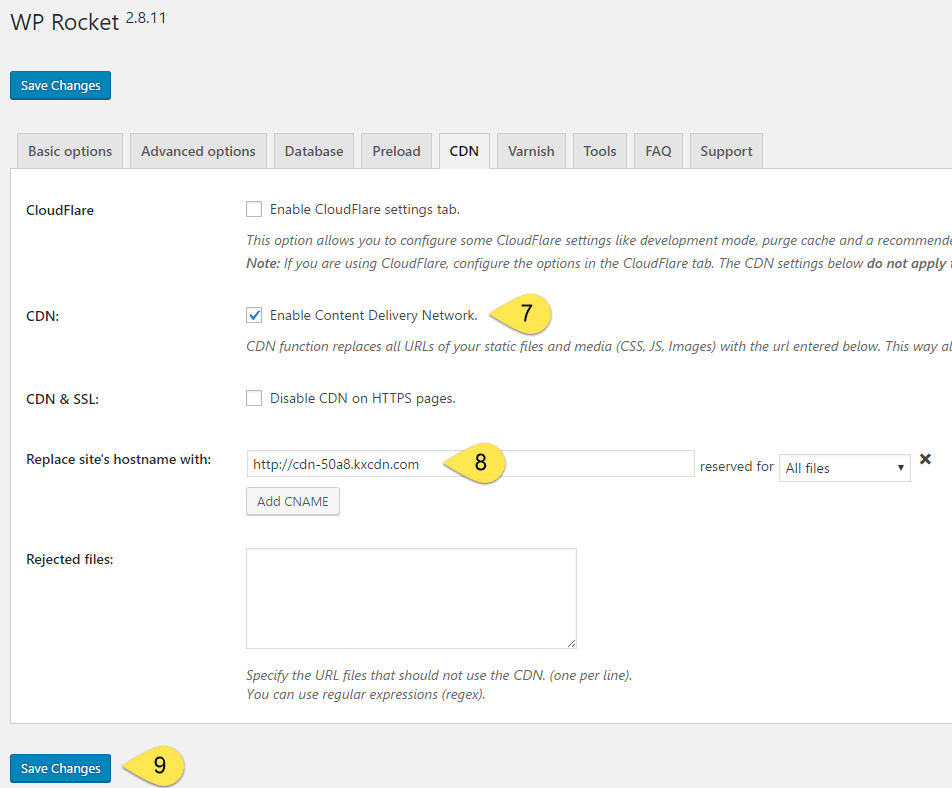
Step 7: With the Zone now setup in KeyCDN, we head into WordPress and go to the WP Rocket settings and click on CDN. First up, tick Enable Content Delivery Network.
Step 8: Add the Zone URL from KeyCDN (as shown in the Step 6 screenshot above).
Step 9: Then click Save Changes. When you try to load your site, it may initially have blank images and look all messed up. I found that after waiting for around 5-10 minutes, everything cleared up and the site loaded normally again.
Questions?
If you have any questions about this tutorial on How to Setup KeyCDN, please feel free to ask in the comments below and I will try my best to answer them 🙂


 Hi, I'm Clint!


