These steps were followed as part of the 2016 Speed Study on CloudFlare, as well as the 2017 Speed Study on Cloudflare & WP Rocket.

How to Setup CloudFlare – Step by Step
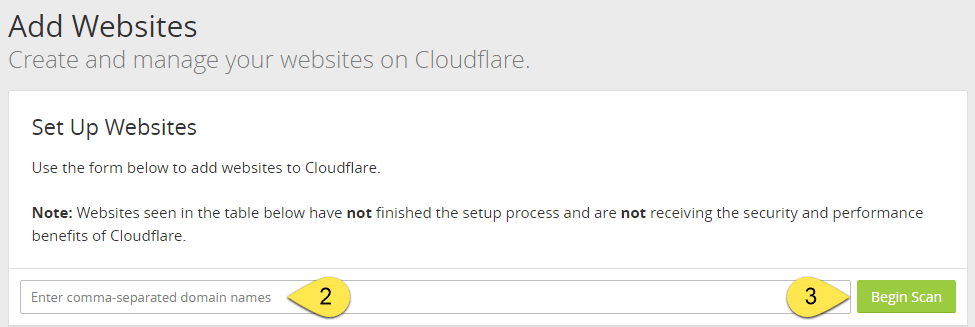
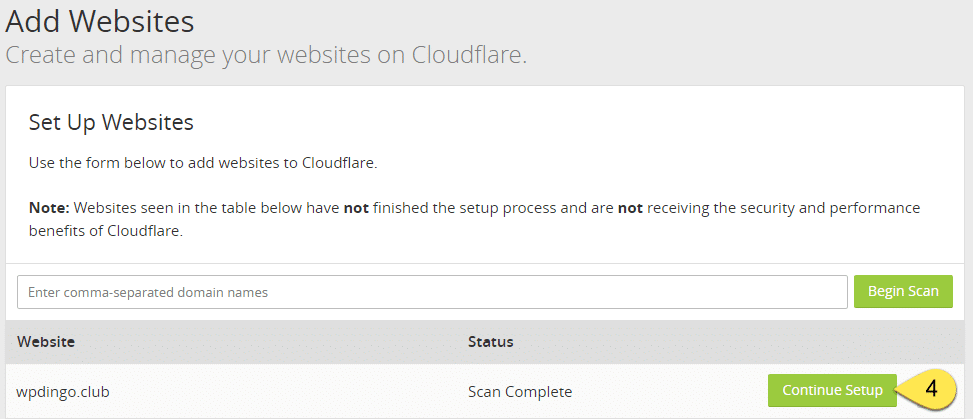
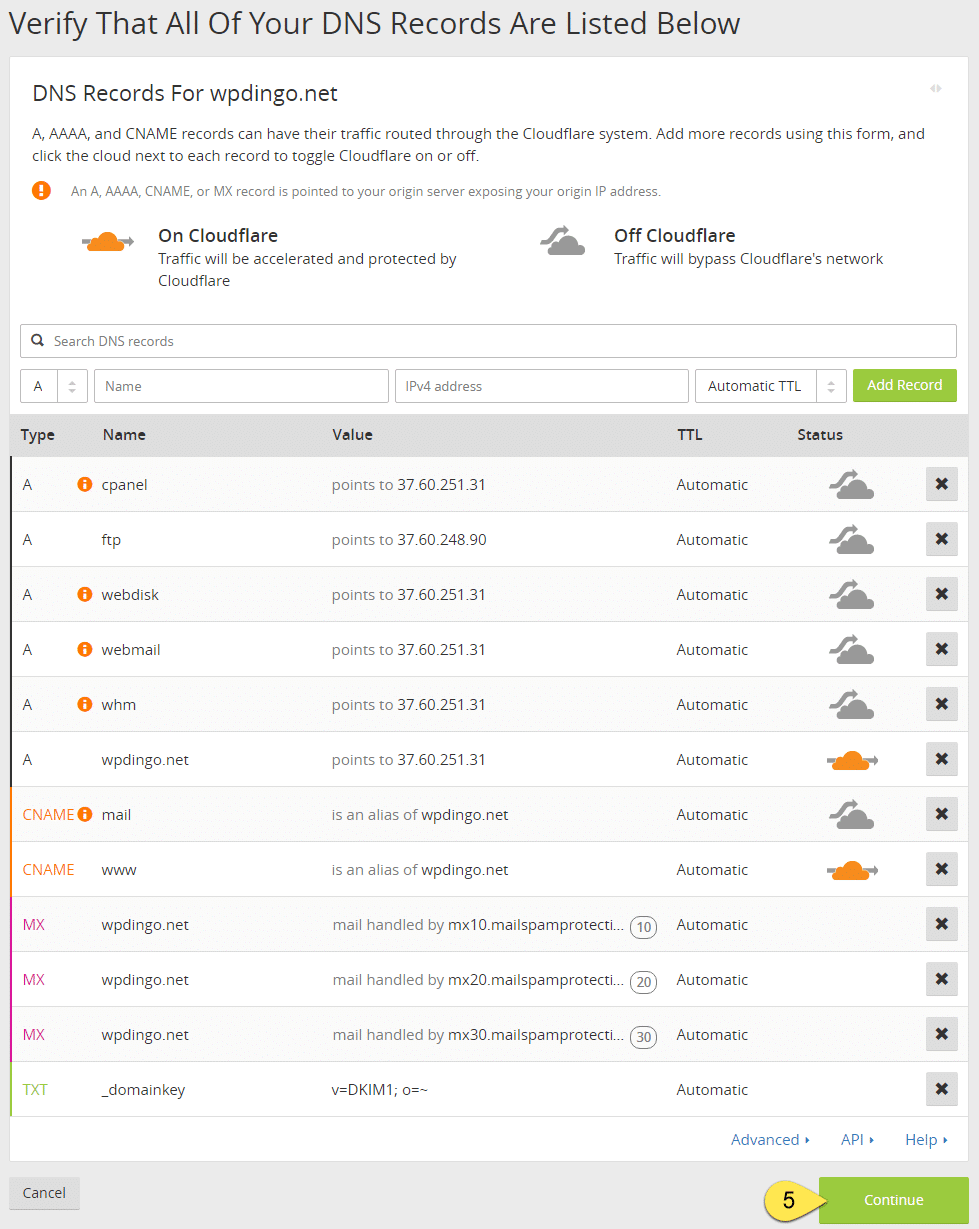
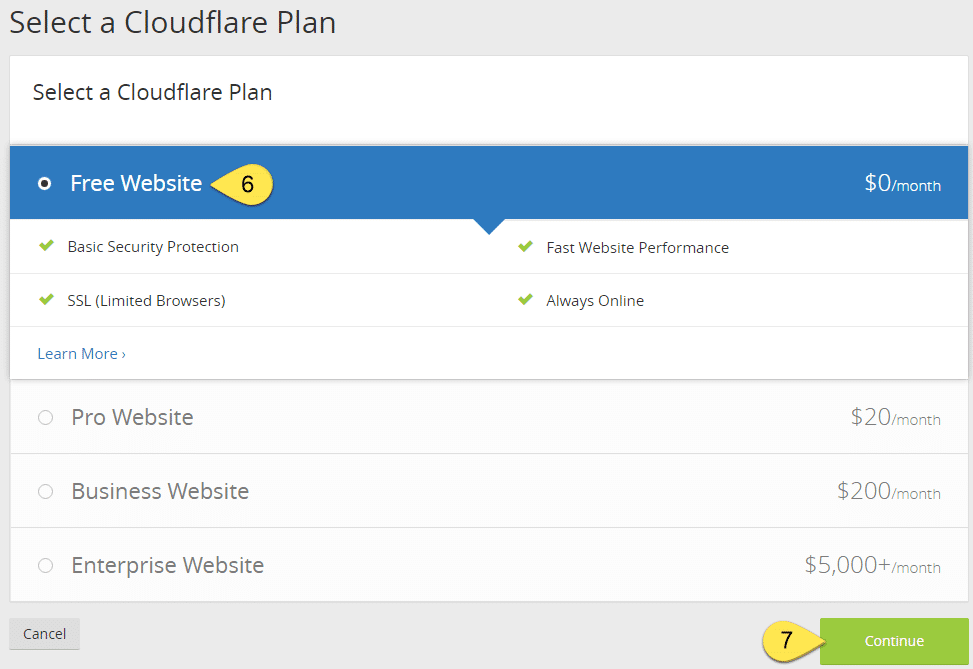
Step 1: First up, we need to get an account setup with CloudFlare. After signing up and activating through email, click through to Add Site.
WP Rocket Integration
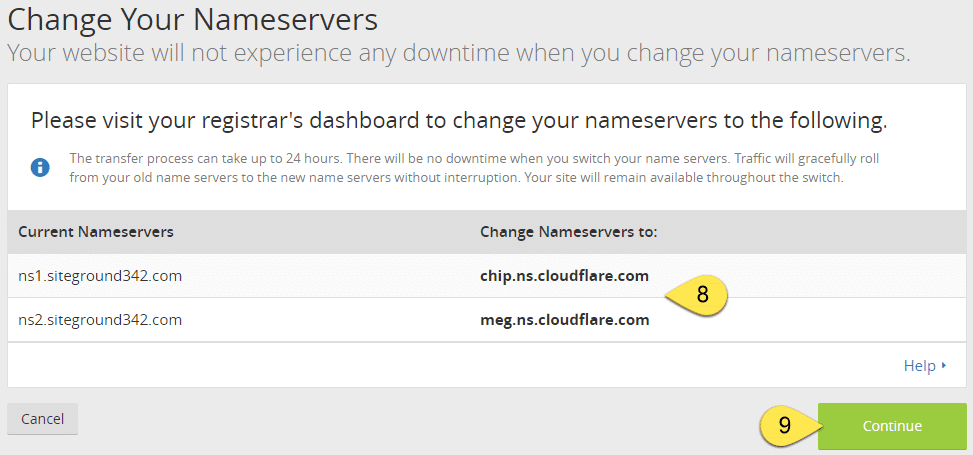
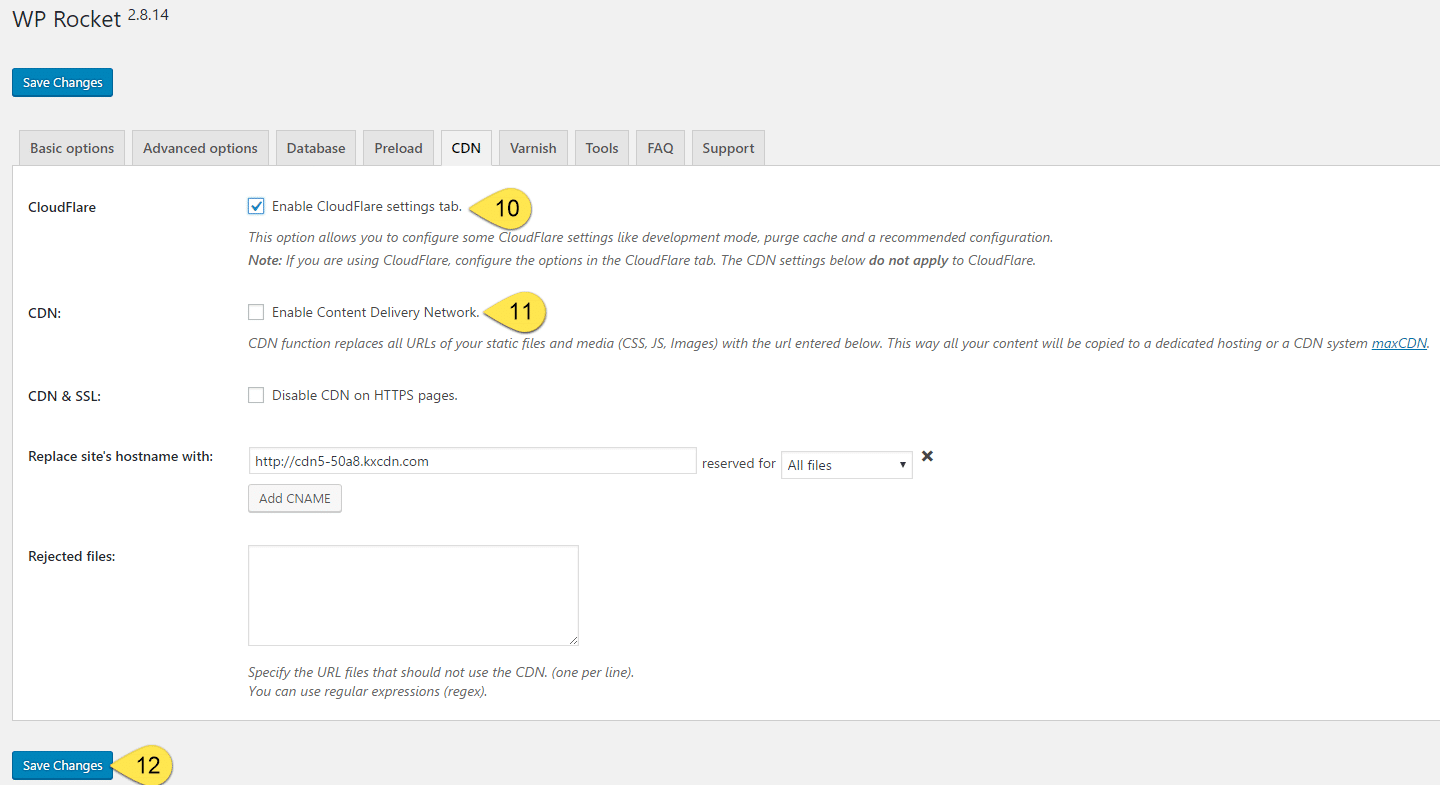
Steps 10 to 12: When the Nameservers have been transferred, the status in the CloudFlare Dashboard changes to Active. Once you see Active, it’s time to head back to our WordPress Dashboard and open up the WP Rocket Settings to the CDN tab. Check CloudFlare, uncheck CDN, then click Save Changes.
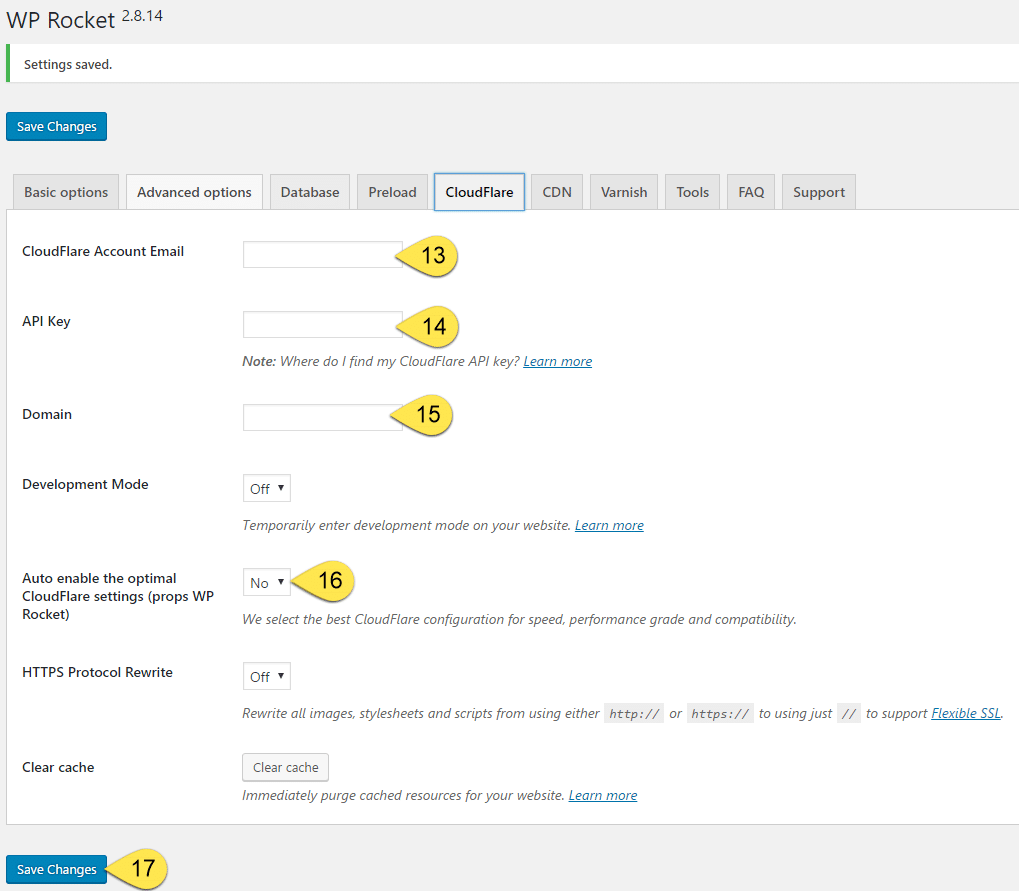
Step 13: A new CloudFlare tab will be created. Add the email address you used to setup CloudFlare.
Step 14: Add the API Key. The learn more link will help you to find this in CloudFlare.
Step 15: Add your Website’s Domain.
Steps 16 & 17: Choose Yes to enable Optimal CloudFlare settings. Then click Save Changes.
Questions?
If you have any questions about this tutorial on How to Setup CloudFlare, please feel free to ask in the comments below and I will try my best to answer them 🙂




 Hi, I'm Clint!


Hello, what cache plugin would you recommend to use with woocommerce and cloudflare ? It seems that WP cache made by automattic is the easiest and best to use ? Thanks.
Based on our testing of CloudFlare, WP Rocket was the best performer, followed by W3 Total Cache, then WP Super Cache. I guess it depends on what your budget is, as WP Rocket costs $39/year, while the other 2 are free. Personally, I would test all 3 and see which is quickest for your site.