Imagify was setup using the steps below for both the 2016 Speed Study, as well as the 2017 version.

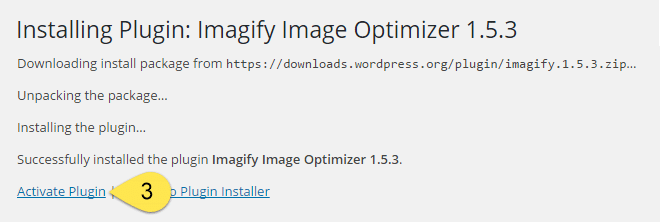
Create an Imagify Account
Step 4: With Imagify now installed, let’s create an account. Click “Sign up, it’s Free”.
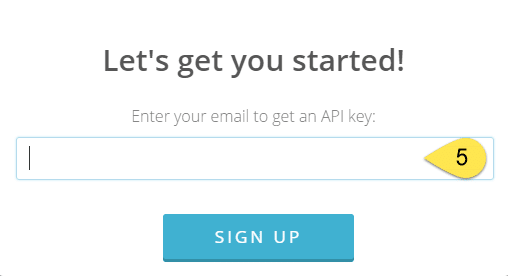
Step 5: Enter your email address and click Sign Up.
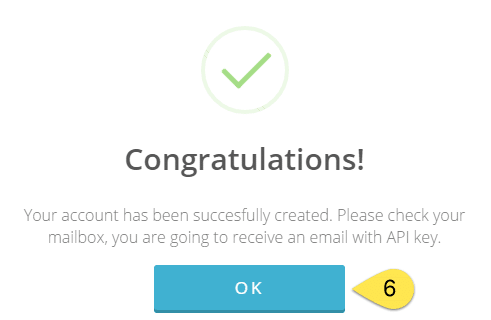
Step 6: Looks like our account is now setup. Let’s click OK
Enter Imagify API Key
Step 7: Then click “I have my API key”
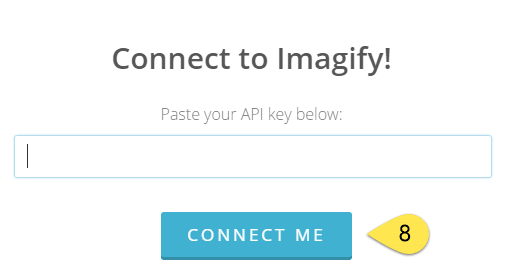
Step 8: And enter your API key from the email you received from Imagify and click Connect Me. Note: While your in the email, click the link to confirm your email address. This will help when it comes time to perform the image optimizing later on.
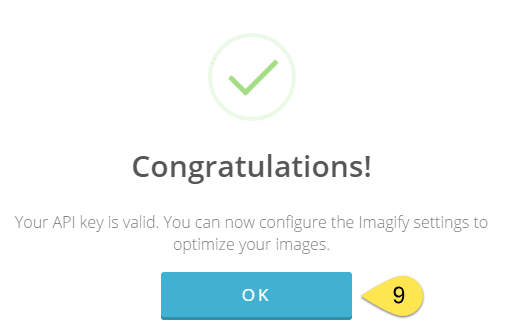
Step 9: Good stuff, our API is valid. Click OK
Step 10: Now we’re getting somewhere, lets get onto the optimizing. Click Go to Settings
Imagify Settings
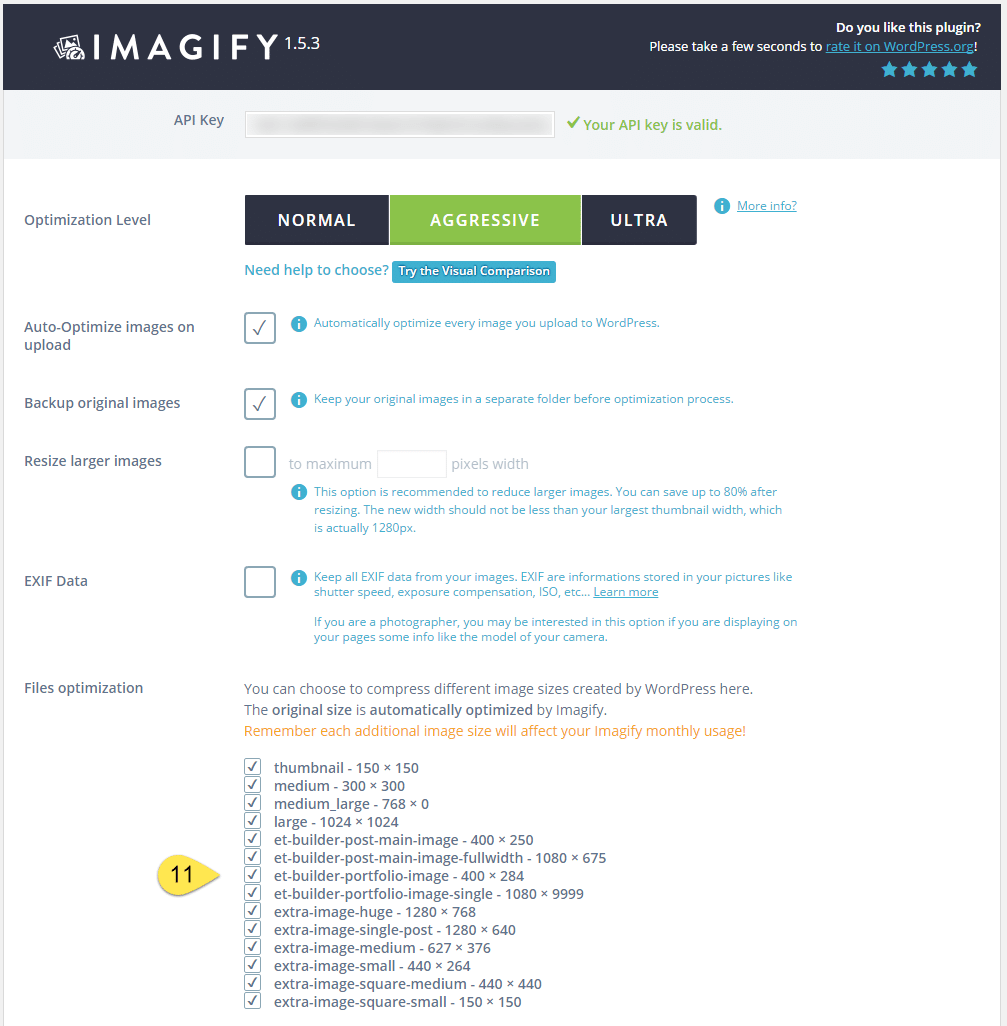
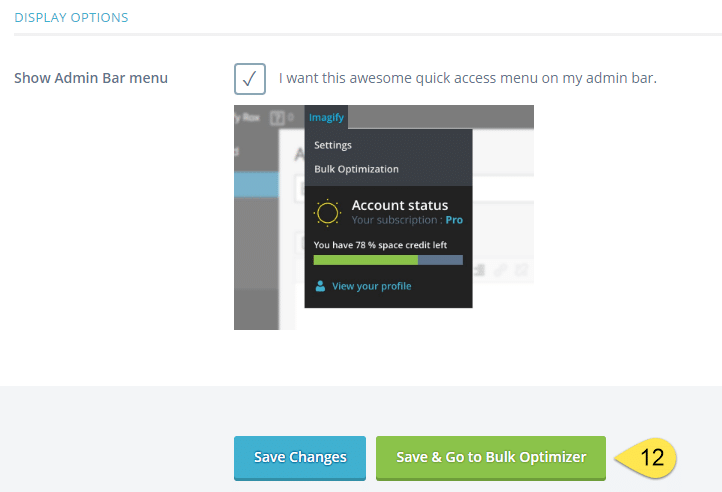
Step 11: These are the default Imagify Settings, which we will stay with for the purposes of this study. If you are setting Imagify up on your own site, it is recommended to uncheck any WordPress image sizes that you don’t use. This will ensure you get the most out of the quota within the free account.
Questions?
If you have any questions about this tutorial on How to Setup Imagify, please feel free to ask in the comments below and I will try my best to answer them 🙂







 Hi, I'm Clint!


thanx admin i will try this on my site as i have lots of images on my site