The following steps were completed to setup CloudFlare using W3 Total Cache, as part of both the 2016 Speed Study on CloudFlare & W3 Total Cache as well as the 2017 Speed Study on CloudFlare & W3 Total Cache.


How to Setup CloudFlare & W3 Total Cache – Step by Step
Step 1: We setup CloudFlare following the previous tutorial on Setting up CloudFlare. Then deactivate WP Rocket and activate W3 Total Cache. The tutorial on How to Setup W3 Total Cache can be found here.
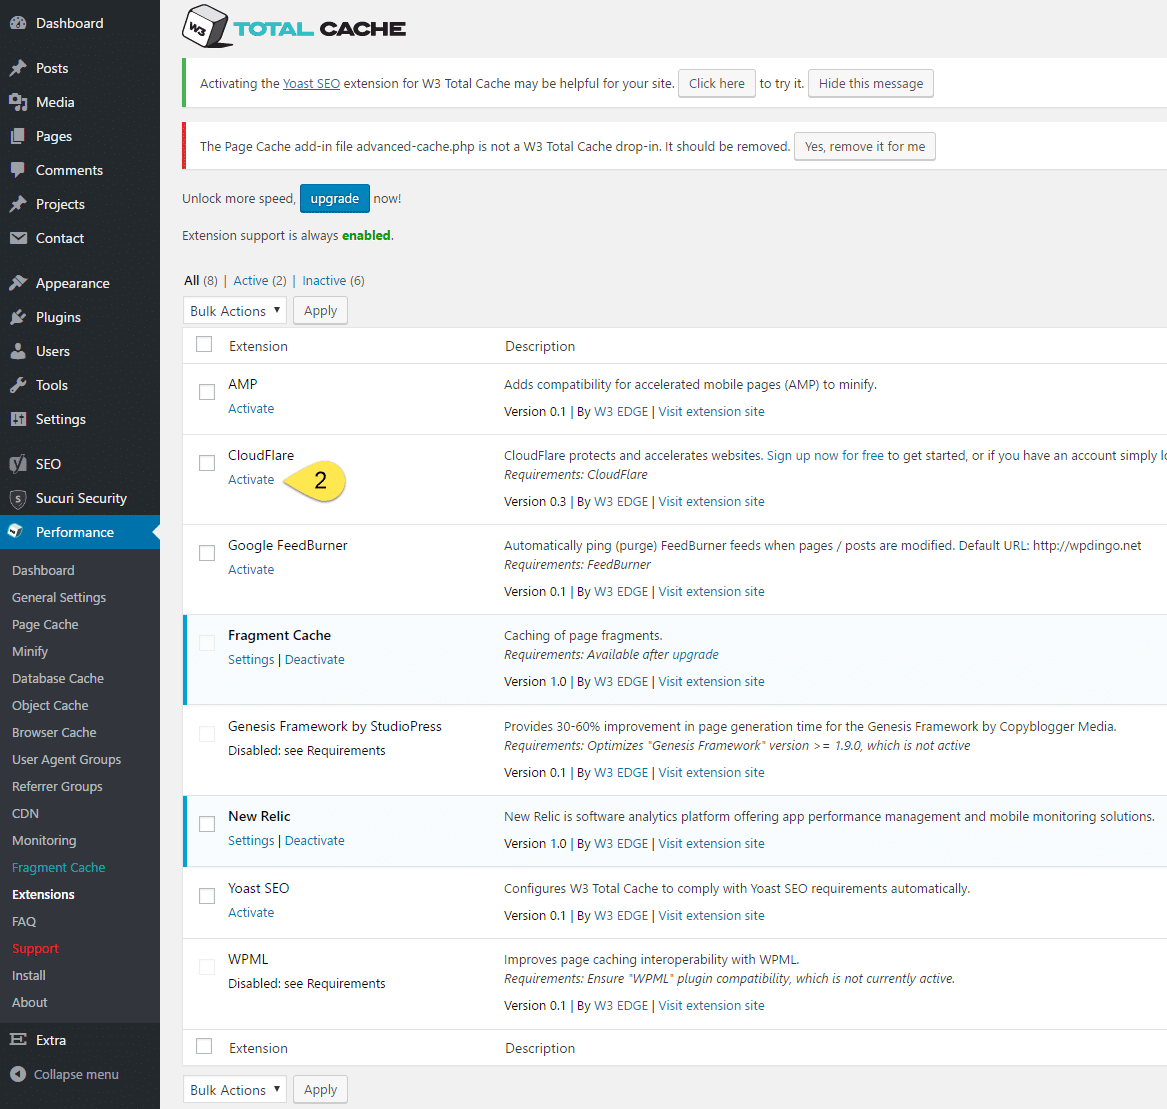
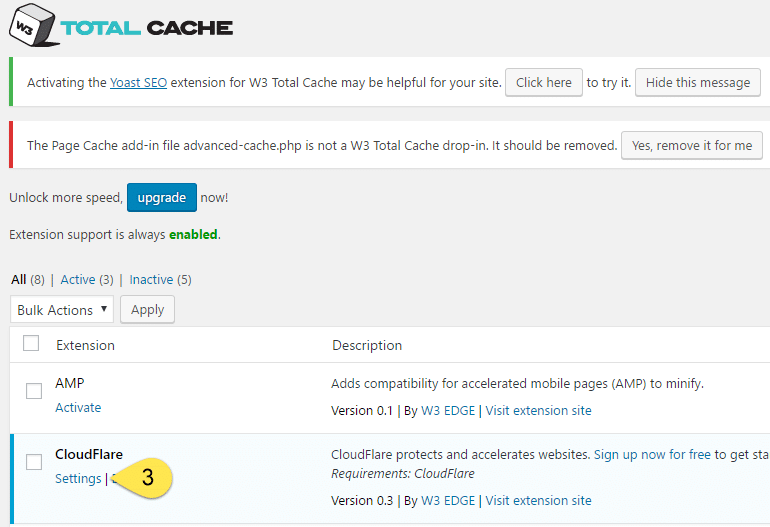
Step 2: Go to W3 Total Cache settings and click Extensions. Then find CloudFlare and click Activate.
Questions?
If you have any questions about this tutorial on How to Setup CloudFlare with W3 Total Cache, please feel free to ask in the comments below and I will try my best to answer them 🙂





 Hi, I'm Clint!


Hi,
i followed all instruction given by you in this article. i am using w3 total cache with cloud-flare but not able to improved my website (http://sastechvision.in) Google page speed. my speed score is 86 for desktop. not able to improve in image section. please suggest what can i do for image.
Hi Sweta – I have tested your site and can see that there are 7 images that are impacting your Google PageSpeed Score. Basically the image dimensions are much bigger than they need to be. So to improve your score, just upload the same image but reduce it to the size shown on your site. For example, the image named “0-how-to-check-what-is-my-computer-or-Laptop-name-1.jpg” it is currently 800x280px, Google is recommending to reduce this to 234x82px (use your preferred image software, eg Adobe Photoshop). If you follow Google’s recommendation for all 7 images, your score should increase quite a bit. Hope this helps 🙂